
An important step in spinning your own yarn is to set-the-twist. Basically, you skein your newly plied yarn, secure it, then give it a 10-minute bath, and hang it up to drip dry. It allows the yarn to "bloom" (if it's wool) and relax into the new positions. In other words, the twists start to sort of "hug" each other.

Step 1) Used my DIY skein-winder to change the format from ball to hank.
The skein-winder works great! [Turns out having the expandable mug rack is a plus because it's adjustable, allowing for different skein sizes. *]

Step 2) Secure the strands to prevent tangles. I used a bit of kitchen twine because that was ths closest thing at hand. It helps to use something that is a contrasting color as it makes it easy to differentiate when it comes time to cut those ties off.


Step 3) Give it a 10-minute bath (add a little wool wash) to open the fibers and allow them to relax. Repeat until the water runs clear.
Here is where my friend Lynda would caution me NOT to use water that is too hot, as it could felt the fibers together, and that's not what I'm after here. Make it warm enough that you can put your hand in it--like bathwater. You don't want to "shock" the fibers.

I was surprised at how much brown stuff came out in the water. The roving seemed very clean as I was spinning it -- even after it was balled and skeined ... so I gave it second round in a clean batch of water. Ah--much better!
Step 4) Squeeze out as much water as possible without wringing the fibers. You don't want to felt them together at this stage.

Step 5) Wrap the wet skeins in a towel, and try to pull out more water that way ...

Looking a little bedraggled at this point ... but stay with it to the end ...

Step 6) Hang them up to drip dry. You can add weight if you want to tamp down the springiness (as for weaving) or let it stay springy if you're going to knit or crochet with it where that added energy is an asset.
This time of year (November) and in my house, it took several days for the skeins to completely dry. Each day, they plumped up a bit more, got nice and fuzzy, and gained a nice luster.


Step 7) Back on the skein-winder ... to process back into balls/cakes again.
This Sabamba alpaca yarn is so soft -- a real luxury to work with it! After it was dry, the yarn had visibly "plumped up" and was thicker than before the water treatment. I was glad that the DIY skein winder adjusts to different sized skeins. I needed a different setting AFTER the water bath treatment than before. Compare this one to the one at the top of this post.


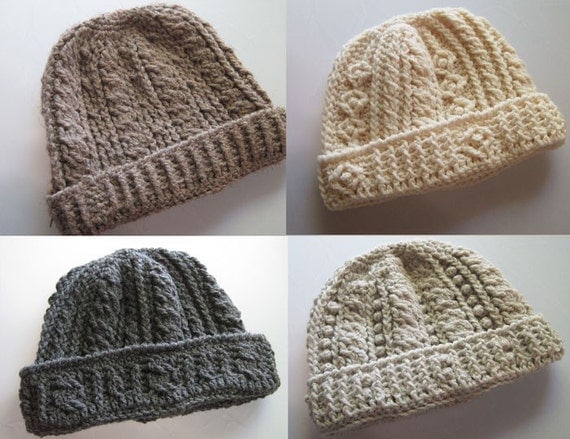
Ready for my next project ... which I think will be one of these hats--crocheted :
Or maybe I'll actually learn to knit (after all these years!). I just signed up for a beginning knitting class at Craftsy. It would give me so many more options for making stuff -- especially those little Bob Cratchet fingerless gloves. I had a really beautiful (and pricey) pair that I loved and misplaced. So I'm motivated to learn how to make them myself now.
I learned to set-the-twist 20 years ago at a class I took in Madison, WI, when I first learned to spin yarn at the Weaving Workshop.
If you want to know more, I found a good explanation/tutorial at Craftsy : How to Finish Hand Spun Yarn.
1 comment:
Fascinating process, one I caught myself thinking I would never want to go to the trouble of doing. But then again, I dye fabric, a multi-step process, without much thought as to why I am going through these steps when I could buy it dyed by someone else!
Post a Comment